How To Enable Guest Account in Windows 10
In the previous version of windows we were able to create guest account very simply, by just few clicks. But in the latest update of windows, we have lost that option. So here we will tell you to How to enable guest account in windows 10.
Actually guest account is wonderful option by Microsoft. If one of our cousin come to home, then turning on the guest account is the best option. Because of change in user interface we were unable to find guest account option. So here will tell you how to enable guest account in windows10.
Just follow these steps:
First and foremost, click on start and search for user accounts in the search box and click on it.
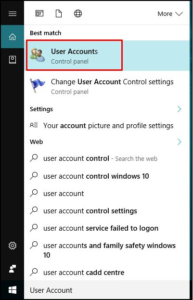
How To Enable Guest Account in Windows 10
Now click on manage another account. Just like below.
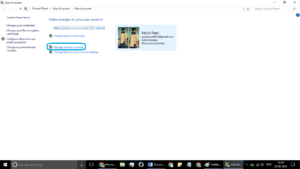
How To Enable Guest Account in Windows 10
You just need to add a new user here. So click on add new user in PC settings.
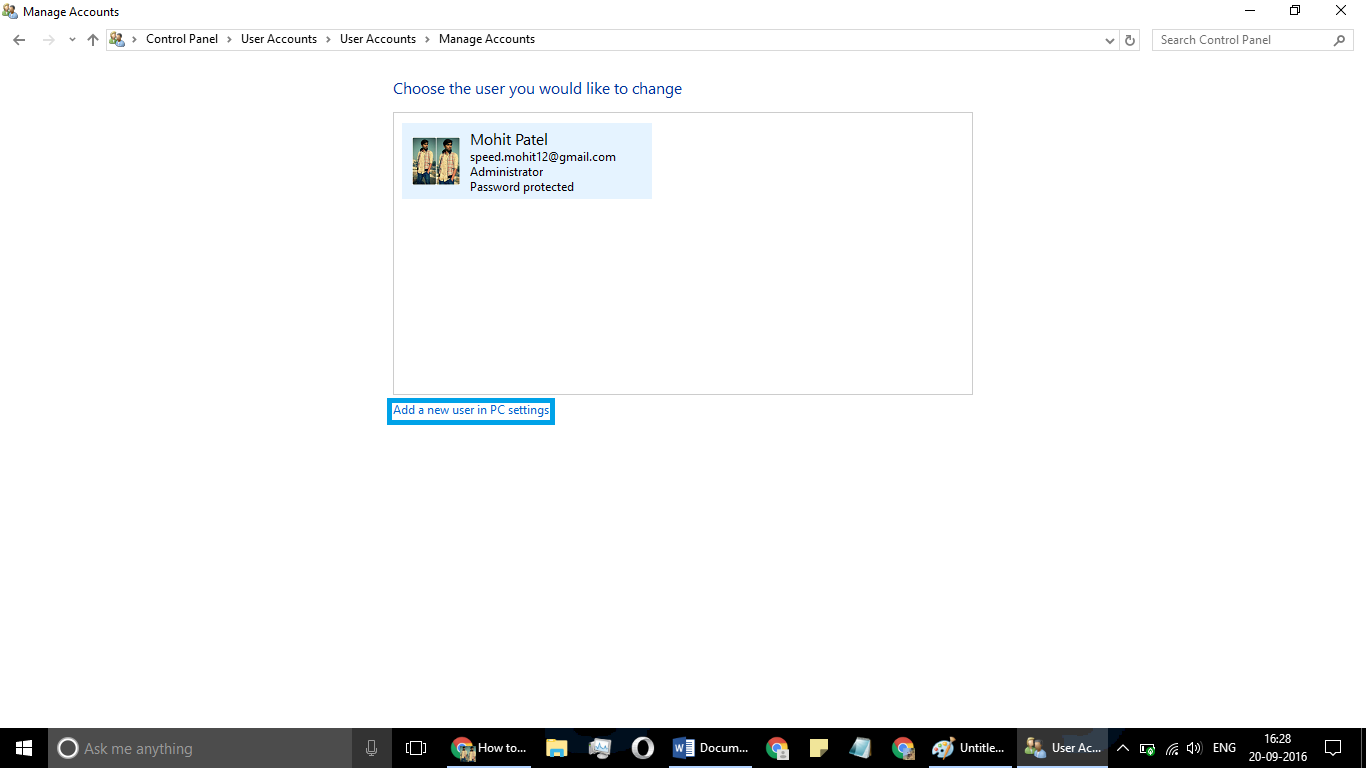
How To Enable Guest Account in Windows 10
Now, just click on Family & Other People and select Add someone else to this PC.

How To Enable Guest Account in Windows 10
Now, windows will ask you to type in user email address. Just click on I don’t have person’s sign in information.
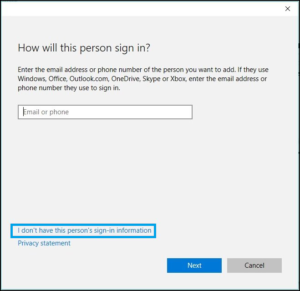
How To Enable Guest Account in Windows 10
In this step you don’t need to fill out details in text fields. Just click Add a user without a Microsoft account.
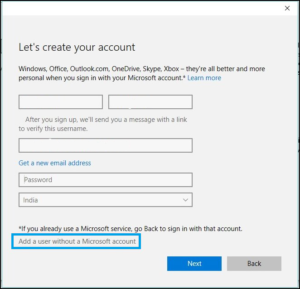
How To Enable Guest Account in Windows 10
Here come the simple step. Just add the name of account and password. Then hit on next button.
See!!!! It’s that simple.
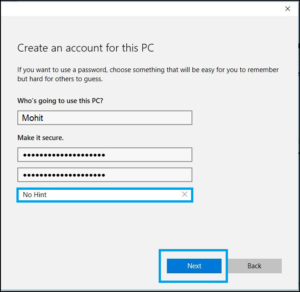
How To Enable Guest Account in Windows 10
Method 2:
Same process again. Click on start and search for lusrmgr.msc and hit enter.
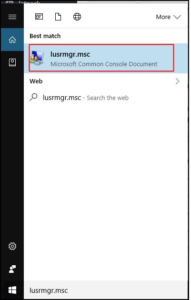
How To Enable Guest Account in Windows 10
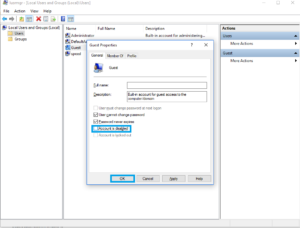
Now, click on users. Then guest on the other side.
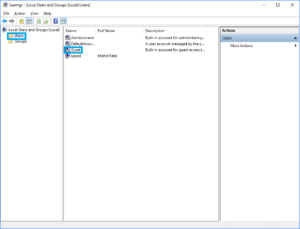
Step 3:
Now type the guest account name and then untick on the option Account is disabled and that’s it you are done, an account is activated in your windows 10.
So these were the methods and we can enable guest account.
Do share with your friends.
We are on Facebook, YouTube, Google+
